Wondering what the best way to tackle the notorious Devil’s Bridge hike in Sedona, Arizona is? Hands down the easiest (and most definitely the prettiest) way is to start at the Mescal Trailhead and go via Chuck Wagon trail! Here’s my experience and guide on hiking Devil’s Bridge from Mescal Trailhead.

Psst. This post contains affiliate links. Read our disclosure.
Oh, Devil’s Bridge.
The hike that damn near gave my mom a heart attack but also helped her see that getting (relatively) close to the edge isn’t necessarily a bad thing but can be immensely exhilarating!
Personally, it’s the hike that I’ll never forget.
Without a doubt, Devil’s Bridge is one of the best treks I’ve ever embarked on (my top favorites were most definitely in Banff National Park though).
Featuring heart-stopping cliff drops, gorgeous views of the surrounding red sandstone rock, a challenging, yet rewarding climb at the end; fantastic photo opportunities, and a great trail that’s easy to follow and shows hikers the best of the Sedona area.

But, truth be told… many Sedona visitors do the Devil’s Bridge hike completely wrong!
Why?
Because they start their hike at the actual Devil’s Bridge parking lot.
Which means they have to walk down the ridiculously boring Dry Creek Rd to get to the Devil’s Bridge Trailhead.
And believe me when I say… this road is nothing special (it doesn’t even have any good views and is usually packed with other hikers).
Not to mention, only 4x4s have access to Dry Creek Rd and the Devil’s Bridge Trailhead, which means you’re constantly getting bombarded with irritating dust and dirt from passing cars… yuck.
The more unique and underrated route to go on starts at the Mescal Trailhead and leads to Devil’s Bridge via Chuck Wagon Trail.
Less cars, more parking? Check. ✓
Smaller crowds? Check. ✓
Better views of the Sedona area? Check. ✓
Zero dust from passing 4×4 vehicles? Check. ✓
More opportunities to spot wildlife? Check. ✓
So, as you can see, you’ll definitely have a better experience if you just follow my lead!
Keep reading for my guide on how to avoid the crowds and hike Devil’s Bridge via Mescal Trail and Chuck Wagon Trail.
Also, to get a better idea of how you can see the best of Arizona in a short amount of time, take a peek at my 7-day Arizona road trip itinerary that explores Phoenix, the Grand Canyon, and Sedona!
MESCAL TRAILHEAD TO DEVIL’S BRIDGE VIA CHUCK WAGON TRAIL
Step by step guide on how to get to Devil’s Bridge on this awesome hiking trail near Sedona, AZ!

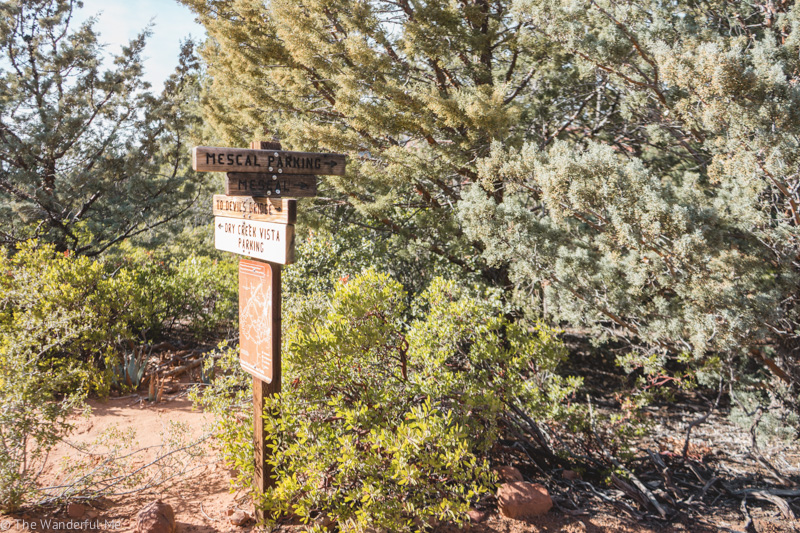
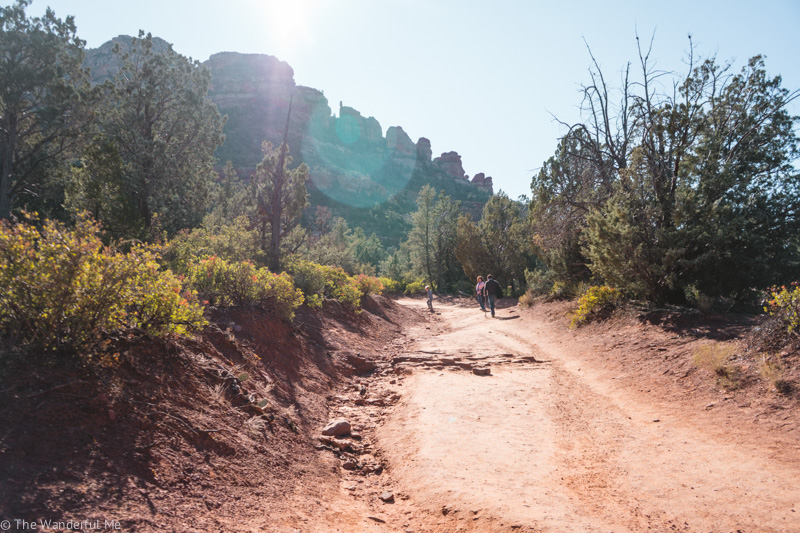
Start by parking your car at the Mescal Parking Lot (pictured above) and head to the trailhead.
It’s marked by a very helpful map (which you should definitely take a peek at before heading off to get a visual of the area and trails).

In no time at all, you’ll come across either a flowing river or dry riverbed (depending on the season). If there’s water, go ahead and use your GRAYL to filter some!
(Wait, wait, wait… you DON’T have a GRAYL Filtering Water Bottle?! Do your hiking and traveling self a favor and get one now! Check it out here and read the raving reviews.)


Anywho, once you get going on Mescal Trail, about one-quarter mile (.02) of the way in you’ll intersect Chuck Wagon Trail, in which you turn left on.

About 10-15 minutes into your Devil’s Bridge hike, you’ll come across a part of the trail where it looks like it completely disappeared!
Don’t fret — you’ll actually end up following and walking through (yes, through) the creek bed for a short distance.
It was at this point in the hike that my mom, sister, and I completely veered off course and got a little lost!
But we eventually found our way back to the trail after spotting some fellow hikers. (Who graciously showed us we needed to walk through the creekbed to stay on route!)
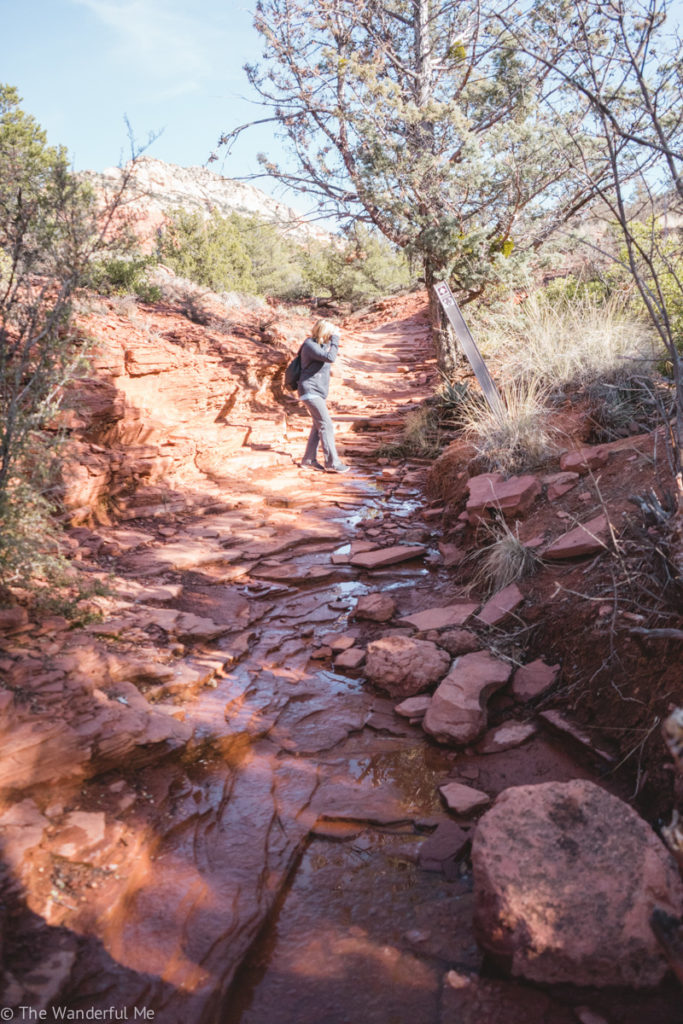

After about 1.2 miles and a few twists and turns on Chuck Wagon Trail, you’ll arrive at the Dry Creek Rd, Chuck Wagon Trail, and Devil’s Bridge Trailhead junction.

At this point, it’s easy to follow the Devil’s Bridge Trail due to an ample amount of helpful markers and other hikers heading towards this remarkable Sedona viewpoint.
Near the end of the trail, coming up towards the actual Devil’s Bridge landmark, you’ll have to do some climbing!
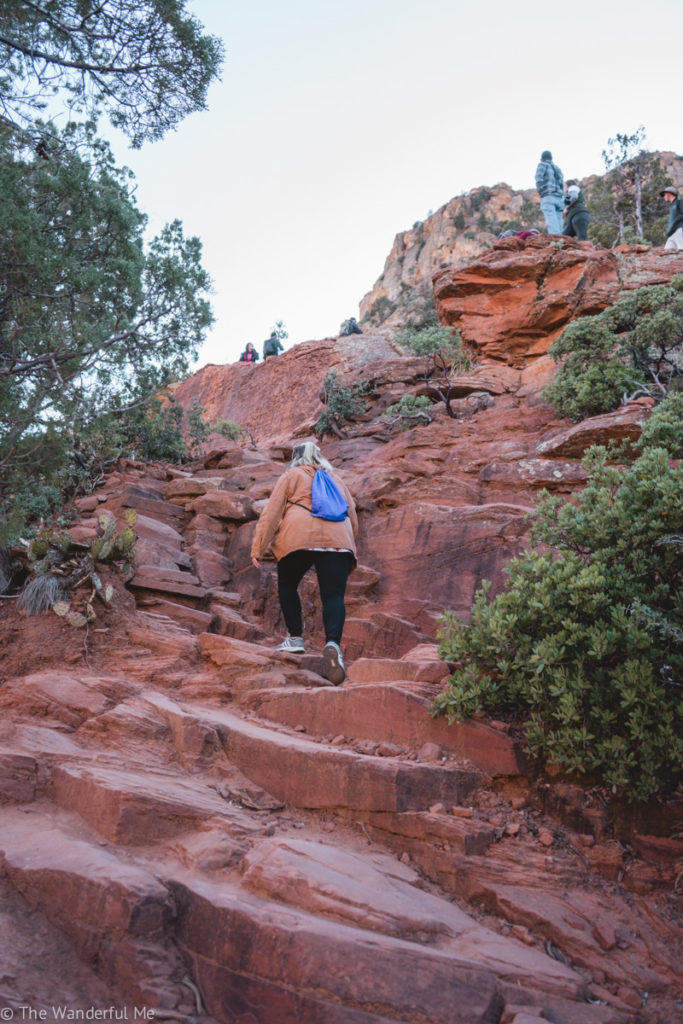

Now, it’s not super duper hard! Just make sure to use both your hands and feet to stay steady and take your sweet time. There’s no need to rush!
Also, for this point in the hike, it’s probably important for me to say that you must have good shoes — ones that are comfortable and good for hiking!
Personally, I wear super supportive tennis shoes (like these). But hiking boots are awesome, too! (I use hiking boots like these for more strenuous treks.)
After the last climb, you’ll finally arrive at Devil’s Bridge! Where you can chill out, catch your breath, have a nice long drink of water, and admire the fabulous views.

Don’t forget to — carefully! — walk out onto Devil’s Bridge and take some awesome photos. There will likely be plenty of other people there to take one for you!

(If not, I recommend traveling with a small tripod to get the job done yourself. I use one like this!)
On the way back, make sure to yet again take your time going down the steep parts. Don’t want to get yourself hurt!
Just as easy as it was to follow Mescal Trail and Chuck Wagon Trail to Devil’s Bridge, it’s easy to follow on the way back, too.
Ever thought about hiking in Wales? Check out my post on hiking Moel Morfydd in North Wales for some inspiration!

TIPS FOR HIKING DEVIL’S BRIDGE IN SEDONA, AZ
1. Bring Enough Water
This goes without saying but mother of god, make sure to bring enough water! Hydration is key — especially when embarking on a summer hike in Sedona, as this time of year can get ridiculously hot.
(Hint: NOT bringing enough is one of my top 5 reasons people suck at hiking! Read the full blog post here to find out the 4 other reasons…)

2. Watch Out for Bikes on Mescal Trail
Mescal Trail is mainly known as a biking trail and is heavily used, too.
So, just keep your eyes and ears open when hiking the short distance on Mescal from the trailhead parking lot to Chuck Wagon Trail (which is not a bike trail).
Need a few reasons to visit Banff National Park this year? Well, I’ve got 7 for you! Click here to read the post.
3. Pack Along a Good Camera
If you want to get mind-blowing photos of your Devil’s Bridge hike or the surrounding Sedona red rock landscape, then packing along a good quality camera is essential (not just an iPhone, although the newer ones are very impressive these days!).
Personally, I travel with a Sony Alpha a7 and it is fabulous! Check it out here.
Previously I traveled with a Sony Alpha a5000, which is an older model but still just as good! It’s a bit smaller and lighter, so it’s a great camera for hiking. Check it out here.


4. Don’t Pack Too Much Though
While you should definitely pack a good amount of water and a high-quality camera, don’t overpack!
There’s nothing worse than uncomfortable back pain while hiking!
As a frequent hiker, here are the hiking essentials I bring:
- GRAYL water bottle (as mentioned above).
- Sony a7.
- Lightweight drawstring bag (like this) or small backpack.
- A light snack — I love KIND bars or some nuts (packed in a reusable bag, of course).
- My phone — service is pretty good near Devil’s Bridge.
- Multi-purpose headband — SUPER useful for wiping off sweat or holding hair back from the forehead. (Like this.)
5. Go Easy on Yourself
For beginners, hiking Devil’s Bridge might push your limits. If you start feeling woozy or lightheaded, go easy on yourself and take a break!
Again, hiking is all about having a good time in nature and breathing in the fresh air! Don’t rush yourself; listen to your body and adjust to your needs.
Well, hope this guide on hiking Devil’s Bridge via Mescal and Chuck Wagon Trail helped you plan your awesome trek to this incredible Sedona landmark!
It’s truly a magical hike and though it can get very busy throughout the year, it’s definitely worth it.
Are you planning a trip to Sedona or a hike to Devil’s Bridge soon? Have any other questions or need some more guidance? Head to the comment section below and ask away!
Sophie xx
Not sure what to check out next? Readers love these posts:
- The ultimate 1-month USA West Coast road trip itinerary
- 10 fantastic vegan restaurants in Phoenix, Arizona
- 15 reasons why summers in Minnesota can’t be beat
- 5 ridiculous reasons you’re a sh*tty hiker
- 8 underrated things to do in Banff National Park
- Tips before visiting Yosemite + Sequoia NP in the winter
Like this post on hiking Devil’s Bridge via Mescal + Chuck Wagon Trail? Pin it!

As mentioned above, this post contains affiliate links. Which means if you make a purchase through the links, this site receives a small commission at no extra cost to you. Read our full disclosure here.


Donna
December 2, 2020 9:14 pmThanks for the tip. We hiked to Devils Bridge via Mescal Trail. It was the perfect way to go. The parking at Mescal has enough room for about 25 cars. There was plenty of parking on a Tuesday morning in early December.
Amanda
December 18, 2020 4:58 pmSo happy to have found this review for Devil’s Bridge. We did this hike on our last day in Sedona and utilized your tip for starting at the Mescal Trailhead. We started EARLY and had the entire Mescal & Chuckwagon trail to ourselves both ways. Great advice!!!
Mike
February 13, 2022 2:55 pmWhat time did you arrive at the hike?
Sophie
February 14, 2022 7:44 amHey Mike, my family and I are late risers so we didn’t get there early by any means! I believe we started the Devil’s Bridge hike at Mescal Trailhead at around 10 or 11 AM? We did visit in December, so the hike wasn’t too busy at that time either.
Lisa
February 11, 2021 4:03 pmHi Sophie, thanks for all the helpful info. How long did it take you to complete the hike round-trip?
Sophie
February 11, 2021 4:15 pmHey Lisa! This hike took around 2.5 hours — including many breaks and a slow-going speed!
Lisa
February 11, 2021 8:41 pmOk, thanks Sophie. I wonder if the distance is shorter if you hike down Dry Creek Rd to the Devils Bridge trailhead? We’re going to Sedona next month and we’ll be hiking to Devils Bridge, along with Bell Rock, and Cathedral Rock.
Sophie
February 12, 2021 3:01 amThey work out to be about the same distance! Chuck Wagon Trail adds only about .1 or .2 miles compared to Dry creek road. And it’s SO much better in terms of views!
Lisa
February 13, 2021 12:47 amOk, thank-you very much!
Pam Valk
April 10, 2021 8:17 pmHow scary is the hike up devil’s bridge in Sedona? And how much more scary is the hike down? I read some comments that you have to go down on your butt. 🥴
Sophie
April 10, 2021 8:32 pmHi Pam! The hike is pretty easy and flat most of the way — it’s just the last little bit that’s a bit tough! Climbing up is the easy part but the way down definitely requires a little butt sliding for some hikers! (I believe my sister had to slide down on her butt because she doesn’t have the best balance!) That said, I saw both young children and older hikers easily tackle the tougher bit so it’s doable for many 🙂
Stephanie
April 19, 2023 11:56 pmThanks for the great info! just wondering if there’s a way to not go through the water if the riverbend is filled? Planning to go in May this year.
Sophie
April 20, 2023 4:08 amHi Stephanie! May is quite a dry month in Sedona so you should be fine. However, the river bed is near the beginning of the trail so if there is a significant amount of water flowing, you can turn back and park along Dry Creek Rd or at the junction of Dry Creek Rd and Boynton Pass Rd. My guess though is that it will be fine to cross! The worst months for river flooding are between January and March.
Steph
April 25, 2023 11:18 pmGreat! Thank you!